How to Start Your Mosaic Art Journey: A Step-by-Step Tutorial
Getting Started with Mosaic Art
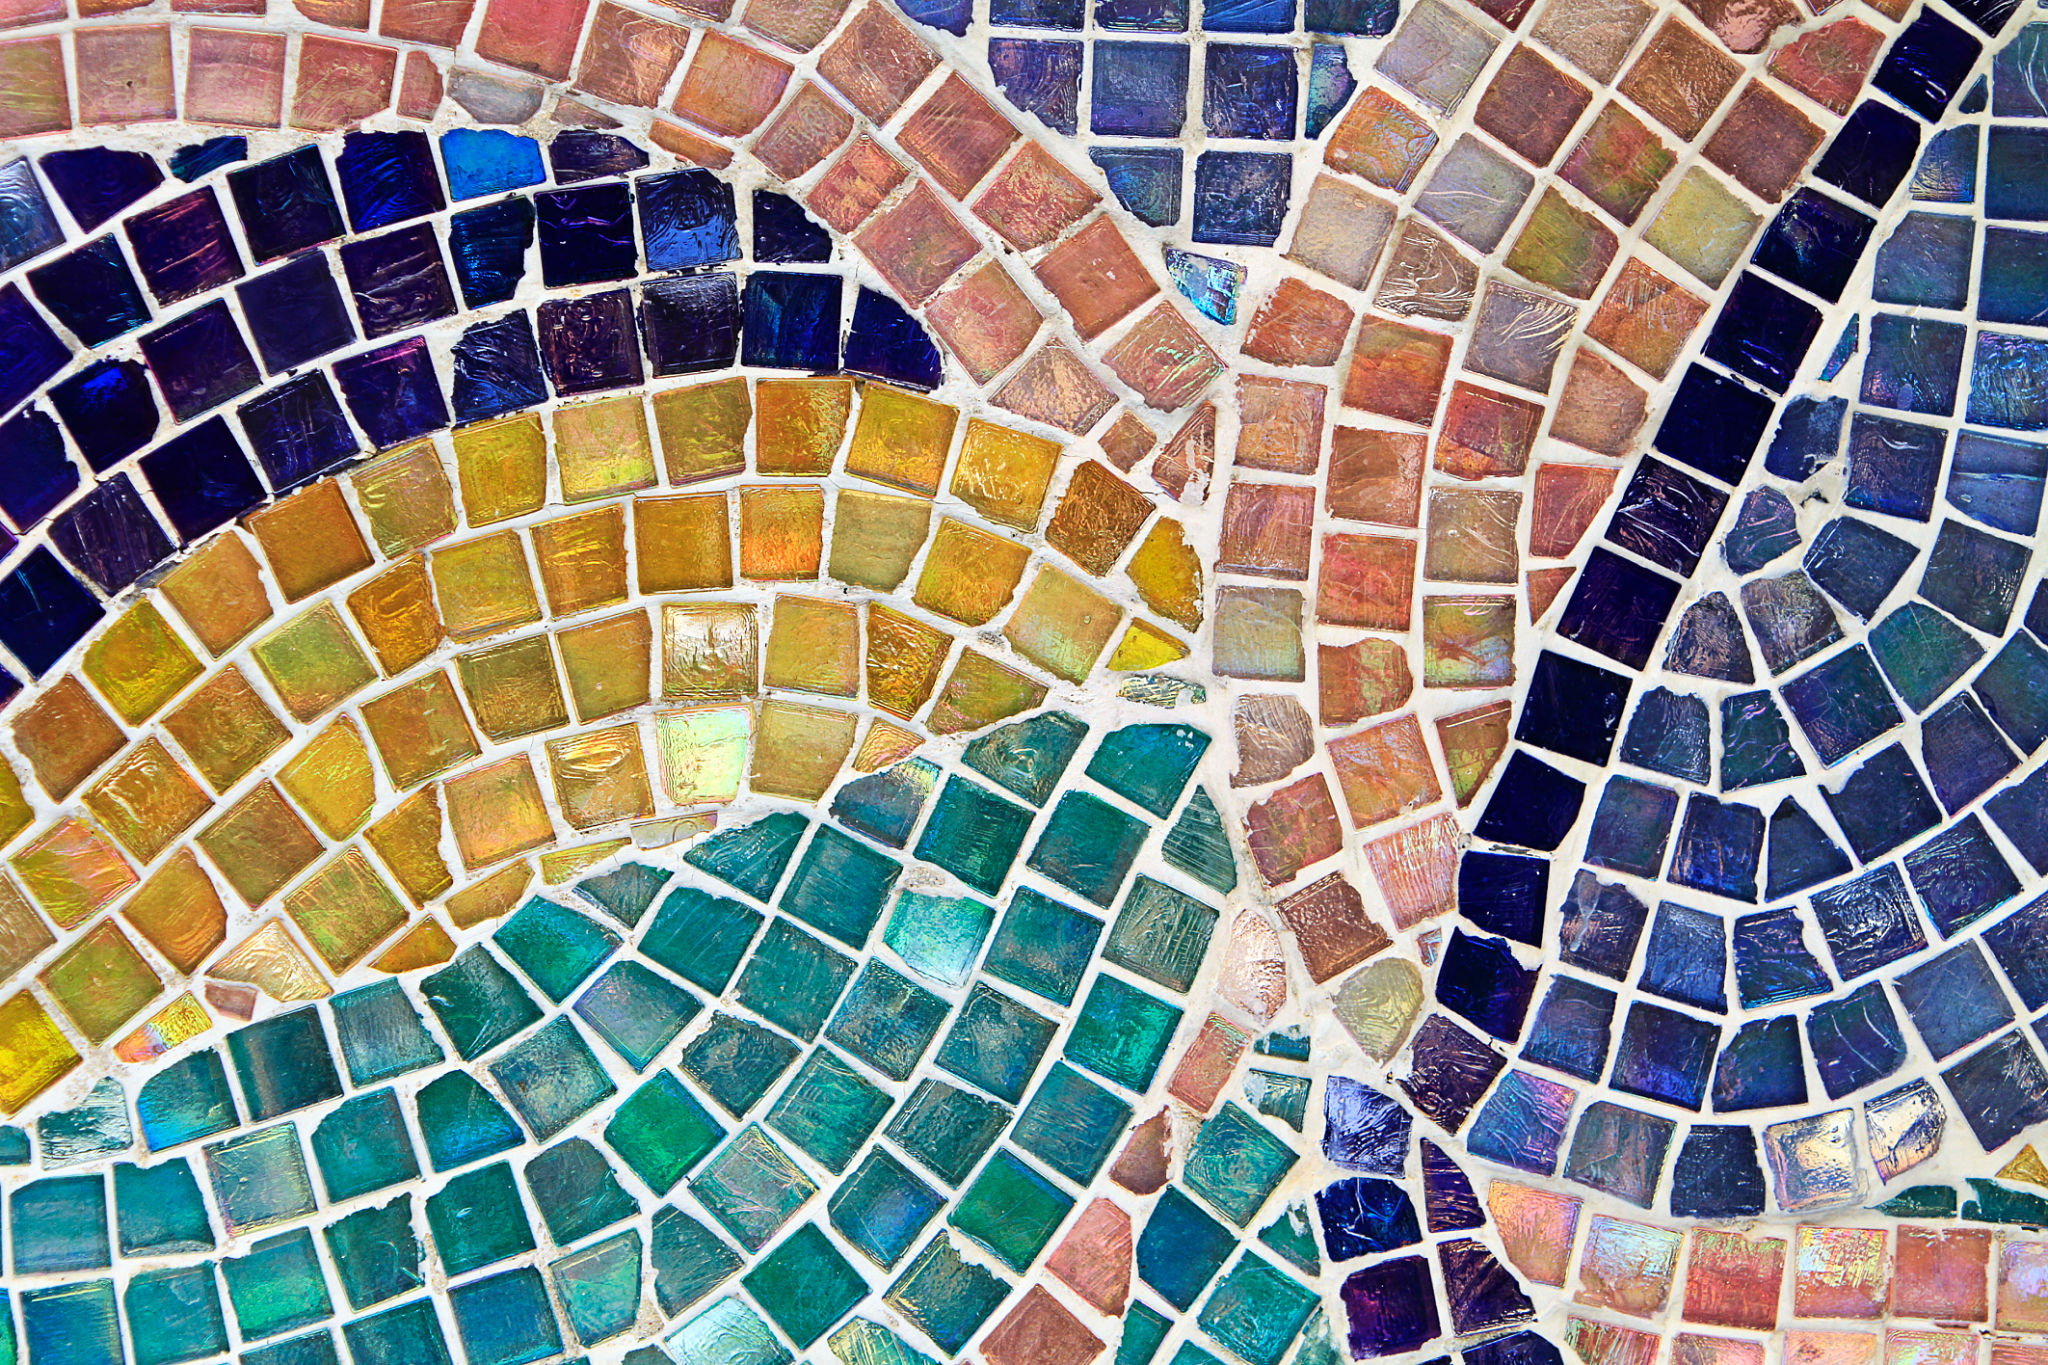
Mosaic art is a captivating craft that has stood the test of time, offering a unique way to express creativity through the arrangement of small pieces to create a larger image or pattern. Whether you're inspired by ancient Roman masterpieces or modern abstract designs, starting your mosaic art journey can be both fulfilling and fun. In this guide, we’ll walk you through the steps to begin your mosaic art adventure.

Gathering Your Materials
Your first step in mosaic art is to gather the necessary materials. You’ll need tiles, tesserae, or any other small objects you want to use, like glass, stones, or broken pottery. Other essentials include a base to create your mosaic on, adhesive, grout, and tools like a tile cutter and safety glasses. You can find these supplies at most craft stores or online.
It’s important to choose materials that complement each other in terms of color and texture. This will help you create a cohesive and visually appealing piece of art. If you're a beginner, starting with a simple color palette can make the process more manageable.
Selecting a Design
Before you start gluing pieces down, decide on a design. This could be anything from a simple geometric pattern to a detailed landscape. For beginners, it’s best to choose a design that isn’t overly complex. You can sketch your design on paper first or use software to visualize how your finished piece will look.

Consider the size of your project when selecting a design. Smaller projects like coasters or picture frames are great for practice and can give you a quick sense of accomplishment.
Preparing Your Workspace
A well-organized workspace is crucial for successful mosaic art. Ensure you have enough room to spread out your materials and tools comfortably. Cover your work surface with newspaper or a drop cloth to protect it from adhesive and grout spills. Good lighting is essential, so work near a window or invest in a bright lamp.
Organize your tiles by color and size for easy access during your project. This will streamline the process and allow you to focus on the creative aspects of your work.
Creating Your Mosaic
Start by applying adhesive to your base, working in small sections to prevent it from drying out before you place your tiles. Arrange your tiles according to your design, pressing each piece firmly into the adhesive. Use tile cutters for precise cuts and adjustments as needed.

Once all pieces are in place, allow the adhesive to dry completely. This can take several hours or overnight, depending on the adhesive used. Once dry, mix your grout according to the package instructions and spread it over the entire mosaic with a grout float. Wipe off excess grout with a damp sponge, revealing the beautiful colors beneath.
Finishing Touches
After the grout has dried, polish your mosaic with a soft cloth to remove any grout haze and bring out the shine in your tiles. If desired, you can add a sealer to protect your mosaic from moisture and enhance its durability.
Display your finished piece proudly! Whether it’s hanging on a wall or sitting on a tabletop, your mosaic is a testament to your creativity and hard work.
Continuing Your Mosaic Journey
As you grow more confident in your skills, try experimenting with different materials and techniques. Join online communities or local classes to connect with other mosaic enthusiasts and gain inspiration for future projects.
Mosaic art is not only a rewarding hobby but also an opportunity for personal expression. With practice and patience, you'll be able to create stunning works of art that bring joy to both you and those who admire them.
