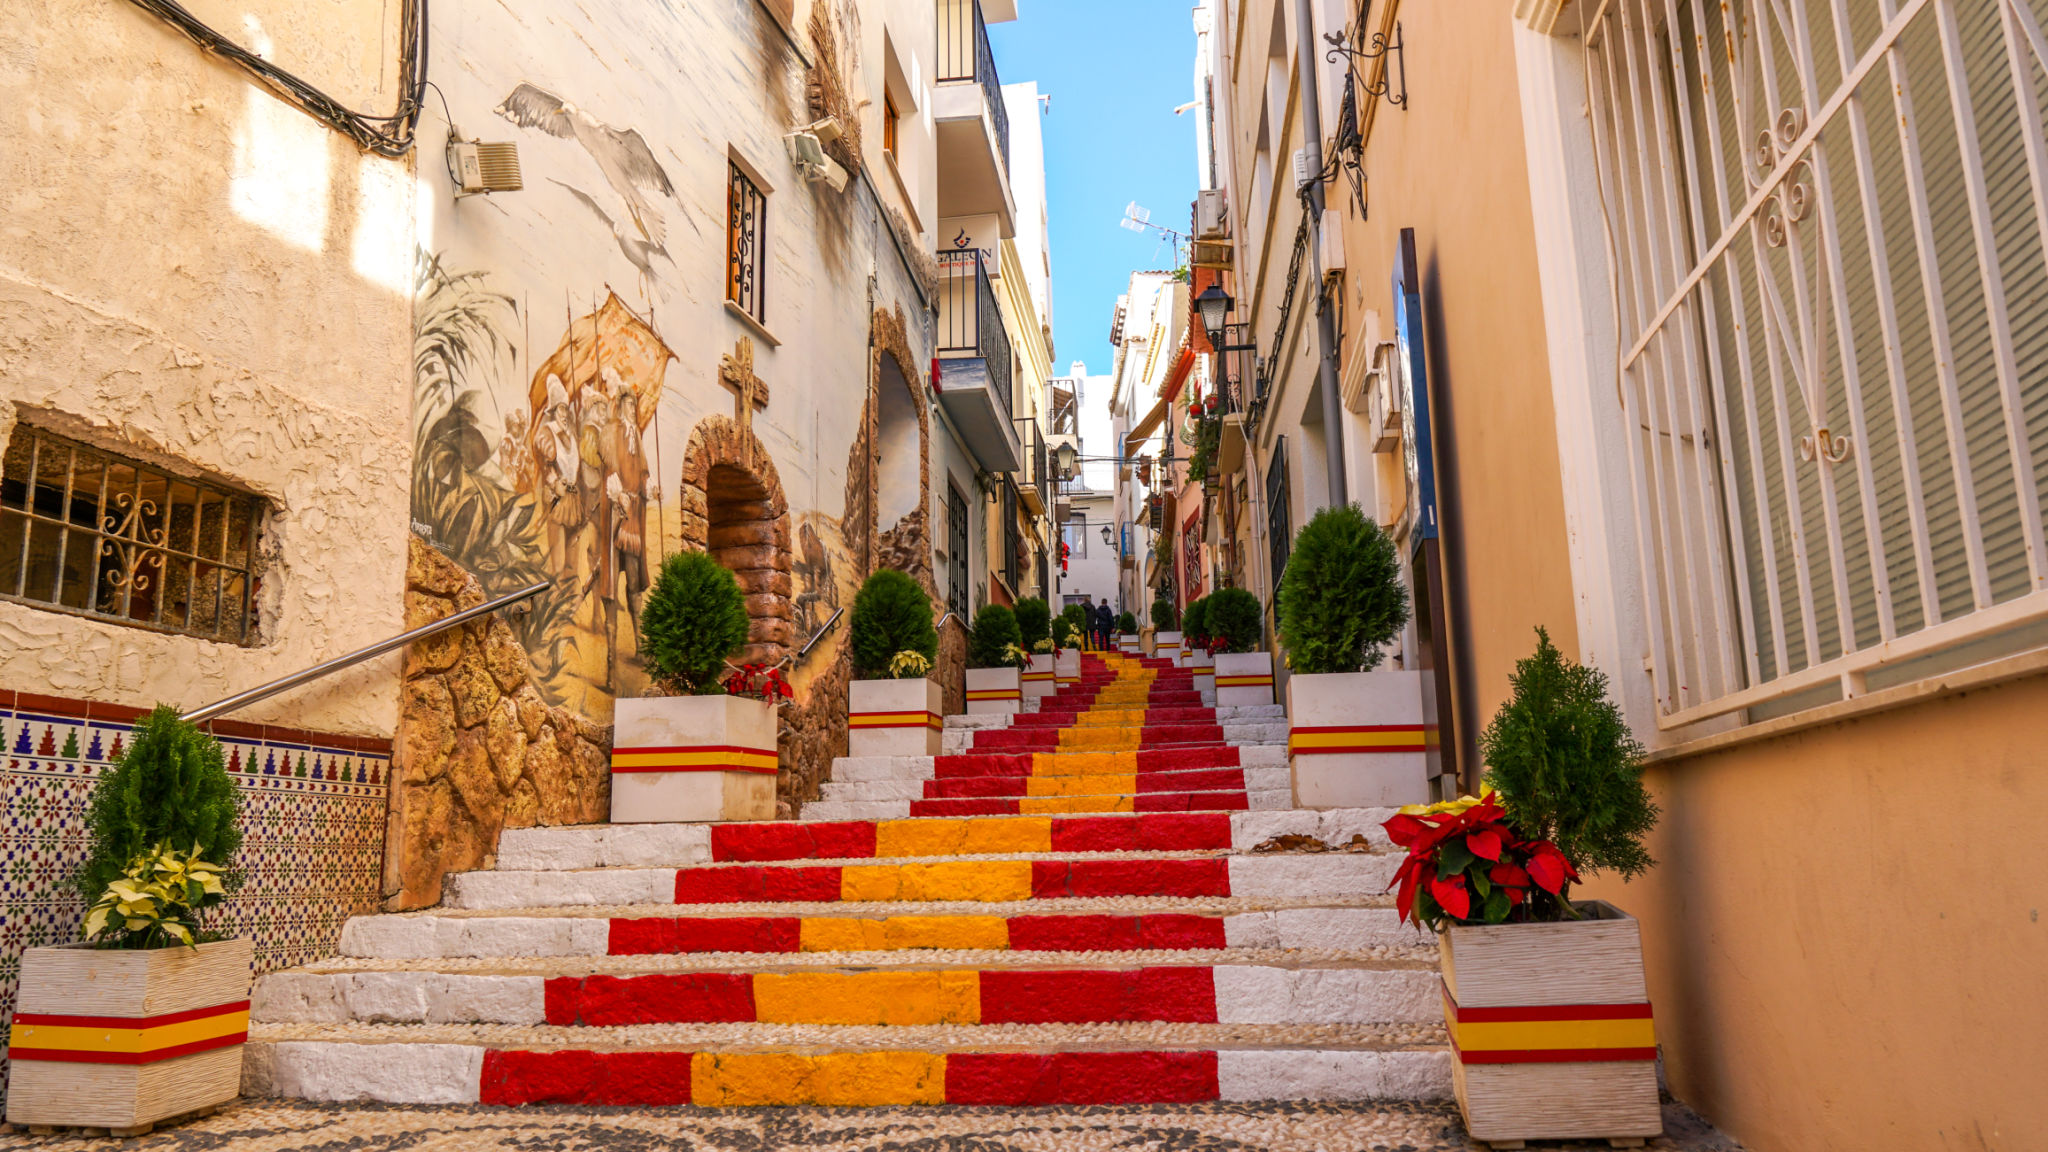
DIY Mosaic Projects: Bringing Alicante's Artistry into Your Home
Discovering the Art of Mosaic
Mosaic art has long been a captivating form of expression, with roots tracing back thousands of years. From ancient Roman villas to modern public spaces, mosaics offer a unique blend of color and texture that can transform any surface into a vibrant tapestry. One place renowned for its exquisite mosaic artistry is Alicante, a coastal city in Spain known for its rich cultural heritage and stunning designs.
If you're looking to bring a touch of Alicante's artistry into your home, DIY mosaic projects are a great way to start. Not only do they allow you to unleash your creativity, but they also provide a personalized touch to your decor.

Getting Started with DIY Mosaic Projects
Embarking on a DIY mosaic project might seem daunting at first, but with the right tools and guidance, it’s an enjoyable and rewarding experience. Here’s what you need to get started:
- Base Material: Choose a sturdy base like wood, ceramic, or glass.
- Mosaic Tiles: These can be purchased pre-cut or you can recycle old tiles and break them into smaller pieces.
- Adhesive: A good quality adhesive is essential for securing the tiles.
- Grout: This fills the gaps between the tiles and stabilizes the mosaic.
- Tools: Tile nippers, tweezers, and a spreader are basic tools you'll need.
Choosing Your Design
One of the most exciting parts of creating a mosaic is choosing your design. Whether you’re inspired by the intricate patterns of Alicante’s historic buildings or prefer something more abstract, the possibilities are endless. Sketch your design on paper first, keeping in mind the colors and textures you want to incorporate.

For beginners, starting with a simple pattern or geometric shape can be more manageable. As you gain confidence and skill, you can move on to more complex designs.
Executing Your Mosaic Masterpiece
Once you have your design ready, it's time to bring it to life. Begin by arranging your tiles on the base without adhesive to ensure they fit within your design. This step allows for adjustments before you commit to the final layout.
Next, apply the adhesive and carefully place each tile according to your pattern. Work in small sections to prevent the adhesive from drying out before you finish placing the tiles. After all tiles are secured, allow the adhesive to dry completely before proceeding to grout.

Finishing Touches
The final step in your DIY mosaic project is applying the grout. Spread the grout over the entire surface, filling in the spaces between tiles. Once applied, use a damp sponge to wipe away excess grout from the tiles’ surfaces without disturbing the grout lines.
Once the grout has dried, polish your masterpiece with a soft cloth to reveal its full brilliance. Your DIY mosaic project is now ready to adorn any space in your home, serving as a testament to your creativity and craftsmanship.
Finding Inspiration from Alicante
Alicante offers a wealth of inspiration for aspiring mosaic artists. From the celebrated Explanada de España, with its wave-patterned mosaic walkway, to the vibrant facades of local buildings, there's no shortage of breathtaking designs to ignite your imagination.
Consider incorporating elements reminiscent of Alicante’s coastal charm or its rich architectural history into your projects. By doing so, you not only create beautiful art but also carry a piece of Alicante's cultural legacy into your home.

In conclusion, DIY mosaic projects are a delightful way to explore creativity while celebrating the artistry of places like Alicante. As you embark on this artistic journey, remember that each piece of tile is a part of a larger story—a story that you have the power to craft and share with others.
