DIY Mosaic Art: A Step-by-Step Guide to Create Your Own Masterpiece
Introduction to Mosaic Art
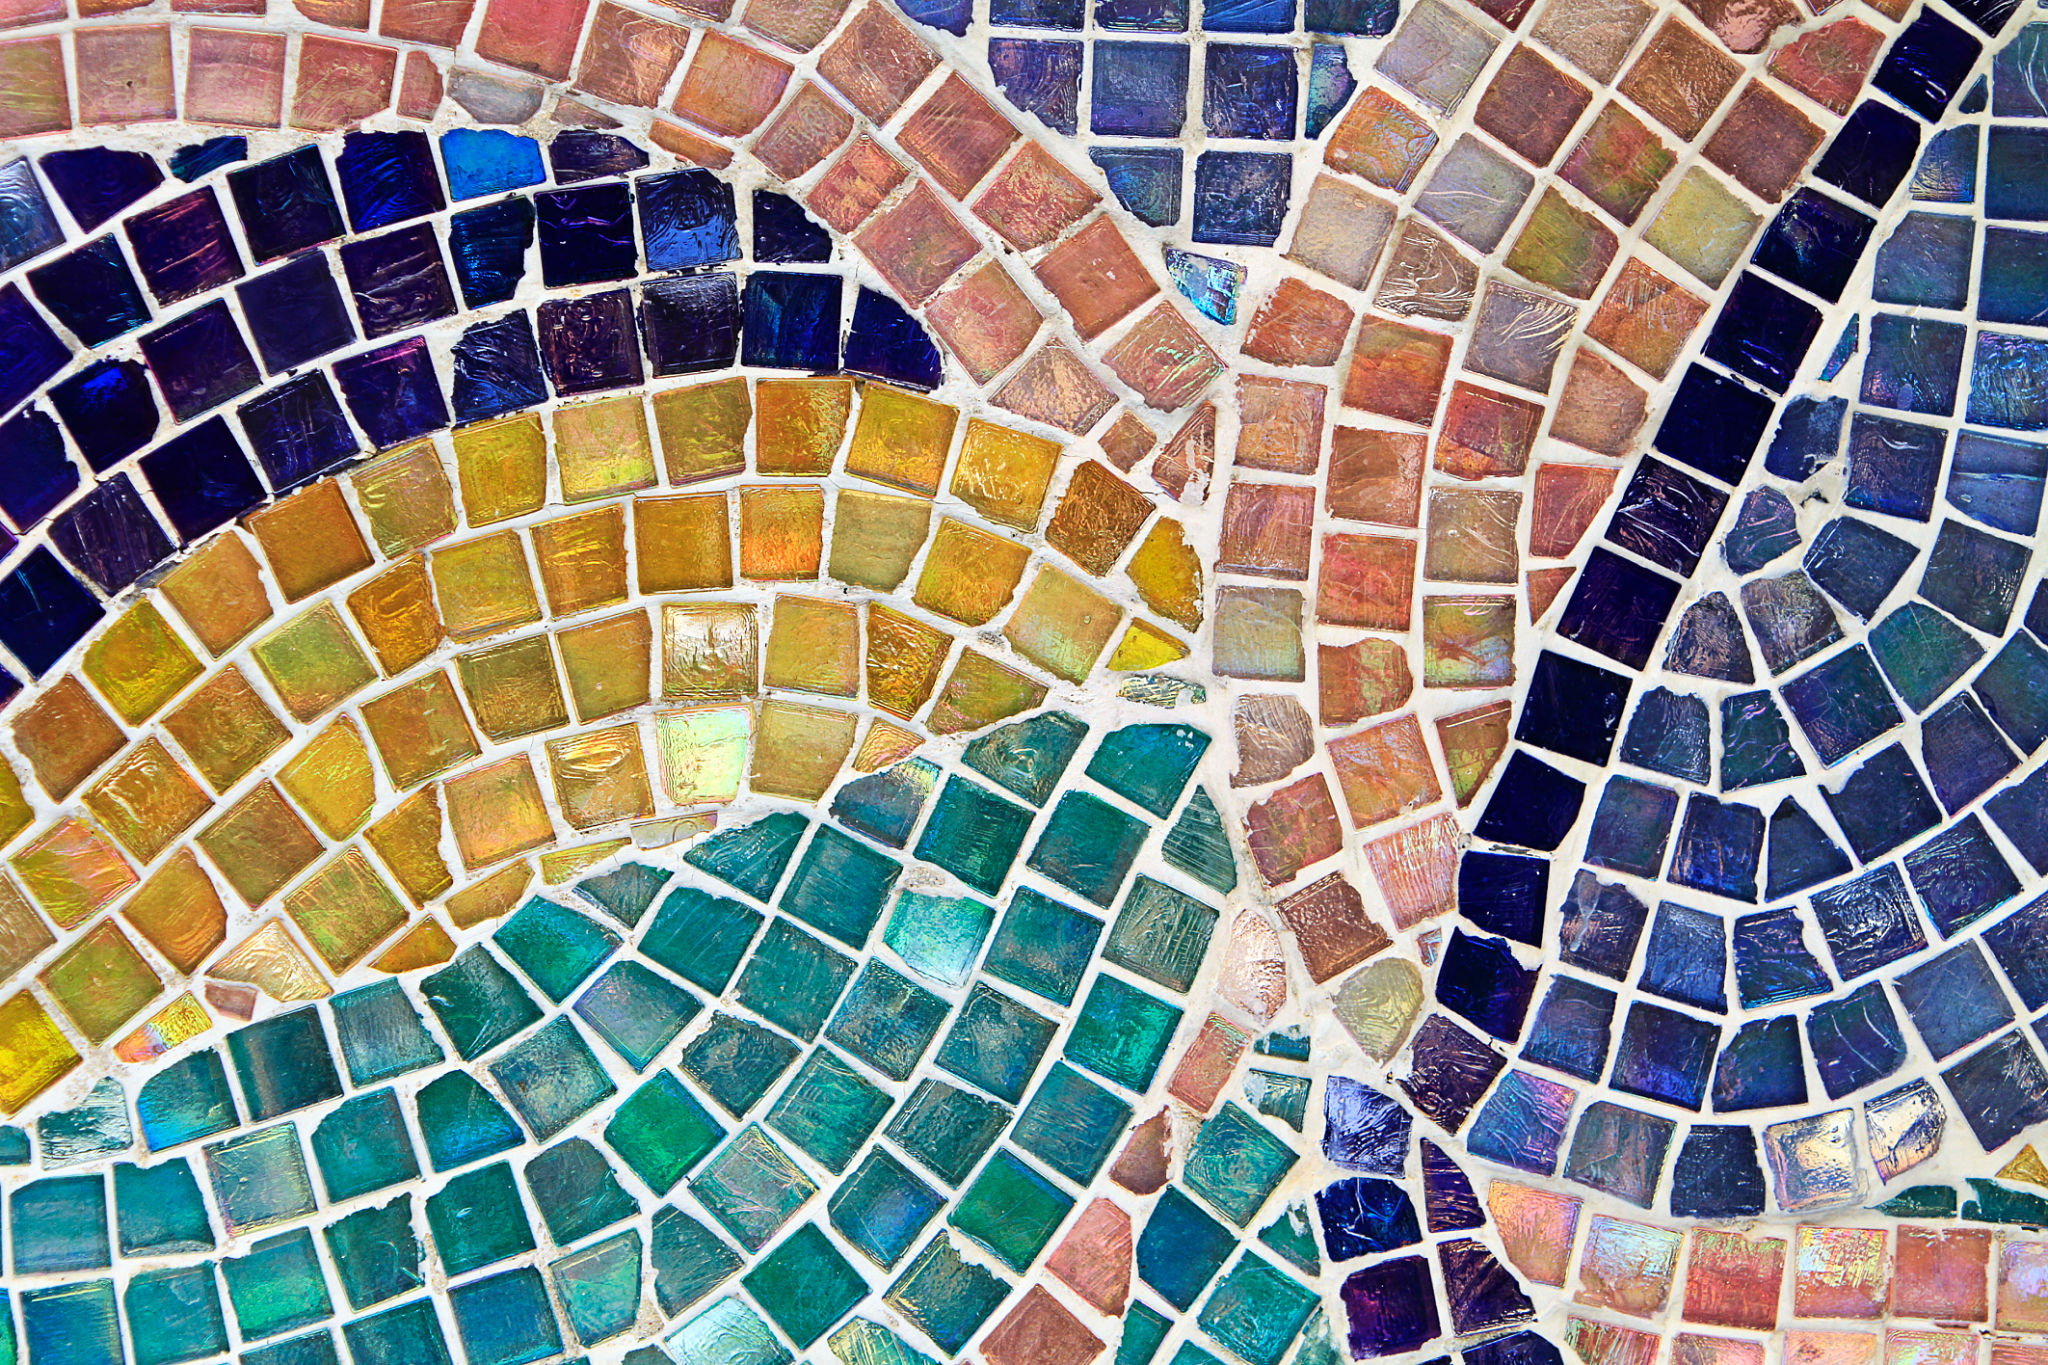
Mosaic art is a beautiful and ancient form of expression that involves creating images or patterns by assembling small pieces of glass, stone, or other materials. Whether you're a seasoned artist or a beginner looking to try something new, creating your own mosaic masterpiece can be a rewarding and therapeutic experience.
In this guide, we will walk you through the process of creating your own DIY mosaic art, providing you with the tools and techniques you need to design and complete a stunning piece.

Gathering Your Materials
Before embarking on your mosaic journey, it's essential to gather all the necessary materials. Here's what you'll need:
- Tesserae: These are the small pieces used to create the mosaic. They can be made from glass, ceramic, stone, or other materials.
- Base: Choose a sturdy surface for your mosaic, such as a wooden board, a tabletop, or even a stepping stone.
- Adhesive: A strong adhesive like tile glue or silicone is needed to secure the tesserae to the base.
- Grout: This fills the gaps between tesserae and gives your piece a finished look.
- Tools: Tile nippers, spatula, sponge, and safety gear like gloves and goggles.
Designing Your Mosaic
The design phase is where you let your creativity shine. Start by sketching your design on paper. Consider color schemes and patterns that speak to you. Remember that mosaics are often more about the play of colors and shapes than detailed imagery.
Once you have a design, transfer it onto your base. This blueprint will guide you as you begin placing your tesserae.

Cutting and Placing Tesserae
With your design in place, it's time to cut and arrange the tesserae. Use tile nippers to shape each piece as needed. Consider starting from the edges of your design and working towards the center. This approach helps maintain symmetry and balance.
Apply adhesive to a small section of your base and press the tesserae firmly in place. Allow each section to dry before moving on to ensure stability.
Grouting Your Mosaic
Once all tesserae are securely placed, it's time to grout. Mix your grout according to the package instructions until it reaches a peanut butter-like consistency.
Using a spatula, spread grout over the entire surface of your mosaic, ensuring it fills all gaps. Wipe away excess with a damp sponge, being careful not to disturb the tesserae.

Finishing Touches
After grouting, allow your mosaic to cure for at least 24 hours. Once set, polish the surfaces of the tesserae with a dry cloth to remove any remaining grout haze.
If desired, seal your mosaic with a protective sealant to enhance its durability and sheen. This step is particularly important if your mosaic will be displayed outdoors.
Caring for Your Mosaic
Mosaic art is relatively low maintenance but requires some care to preserve its beauty. Clean gently with a damp cloth and avoid using harsh chemicals that could damage the tesserae or grout.
With minimal upkeep, your DIY mosaic will remain a vibrant and cherished piece for years to come.

Conclusion
Creating your own mosaic art is not only an enjoyable project but also one that allows for endless creativity and personalization. Whether you're crafting a decorative tabletop or a striking wall piece, the satisfaction of completing your DIY mosaic is unmatched.
We hope this step-by-step guide has inspired you to explore the world of mosaic art and embark on your own creative journey. Happy crafting!
